Config File Creator enables you to create your own standalone applications where your users can modify settings from INI or INF files (or text files).
An INI/INF file Structure
An INI or INF file is basically a text file but with a particular structure inside. INI and INF files are typically used to store settings. A typical INI structure looks like this
[setting_group]
itemname=
So in a typical example setting, say we have an INI file that stores our game settings, it would look something like this
[visual_effects]
ambience_level=25
fog=1
shaders=true
Let’s take a look at the basic flow of how you would create an application.
Template and Design
After opening CFC editor, first you will need to create a new project. Click on the File menu and select New Project.
You will be prompted with the New Project dialog. Fill in the details like so
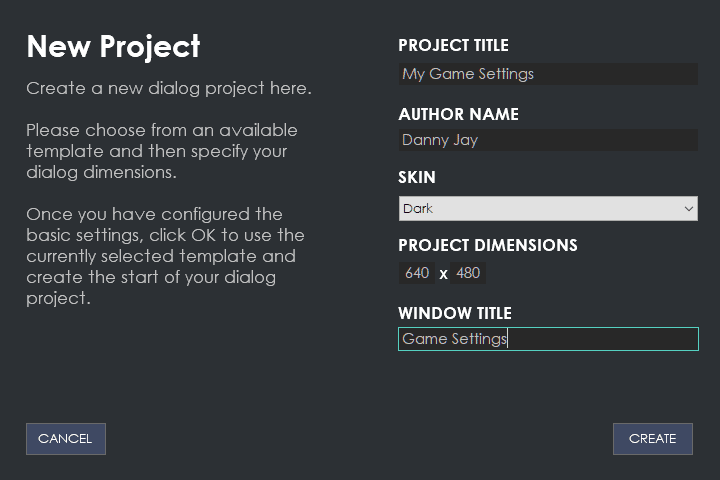
Project Title
Enter a title for your new project
Author Name
Enter your full name or business name here
Skin
Choose a skin to use for your theme
Project Dimensions
Enter the window width and window height respectively here
Window Title
Enter the title of the project to appear in the window title and Windows taskbar
Once you are done, click the Create button.
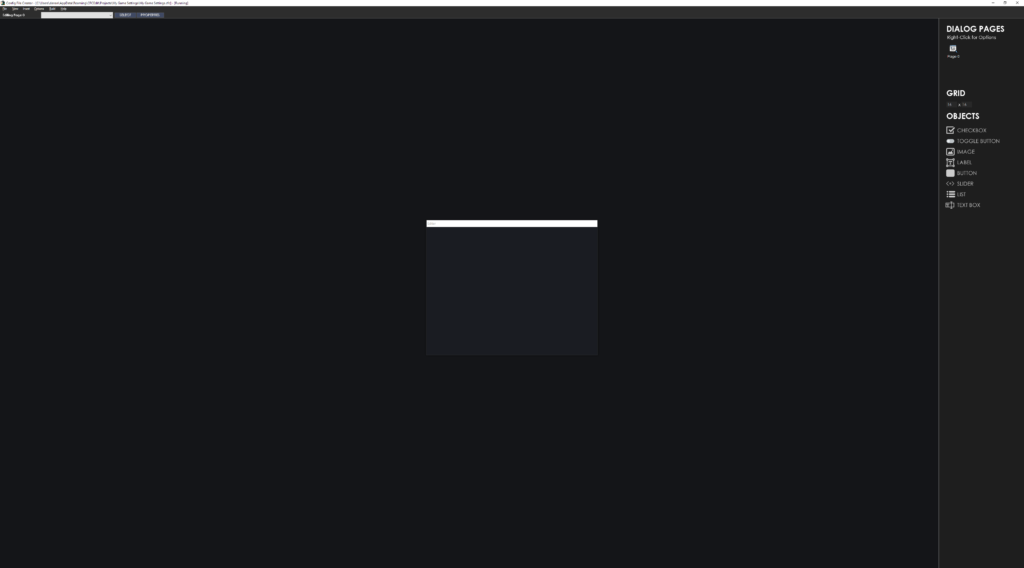
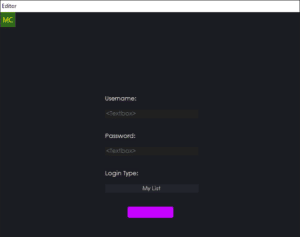
Your project will be created and loaded up with the real-time editor preview in the center, the top toolbar at the top under the menu and the pages/object palette on the right hand side.
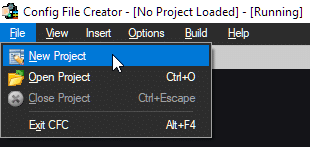
First let’s create our INI file links. Click on View in the menu and select Config Files…

Once you have clicked on this, you will be presented with the INI catalog dialog. Let’s create our first INI file…

Click on the ADD button, then type in a reference name at the top and in filename, type in the local filename to use for this configuration file. In this example, we use config.ini. This means config.ini should be local to our application when it’s built (ie: same folder). If it’s in a sub-folder, you can use (subfoldername\config.ini).
Click on Close and you will now see the INI file link created…
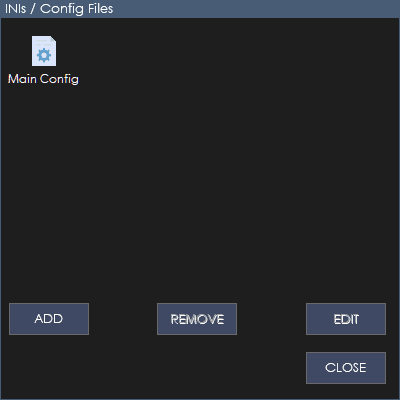
We can now close this dialog.
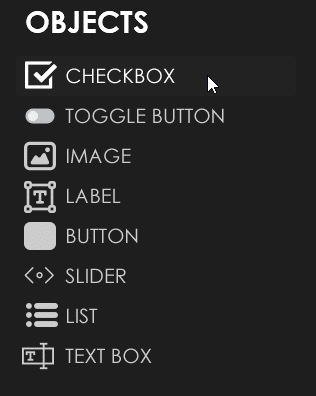
Go to the object palette on the right hand side and click Checkbox. This will insert a new checkbox into our application…
You should now see a checkbox inside the realtime editor. Click to drag and position it where you want, like so…
Hover over the checkbox and left click to grab it. You can then position it where you want, right-click to sit it down. When you want to select an object, you can just click on it again.

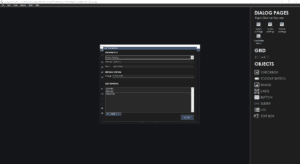
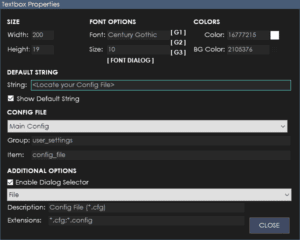
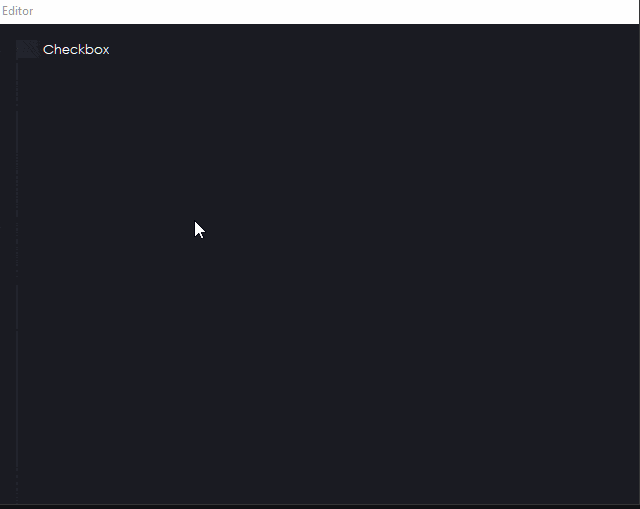
Now let’s select the object then select the properties cog so we can edit the properties for this checkbox.
Once the properties window is open, let’s change it to suit our needs.

First of all, we need to select the configuration file associated with the setting this checkbox will have an effect on. So for this example, we select the one we just created called Main Config.
Then, we need to tell CFC which group and item inside the INI file this checkbox is associated with. So we can do that in the group and item setting (note, for the group, you don’t need to include the [ ] brackets, just the group name), like so…
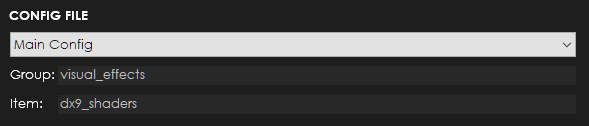
For our example, we want the user to be able to select whether our game will use DirectX9 shaders or not, so we stipulate the INI setting here. We used visual_effects for the group name and dx9_shaders for the item name.

Then for the caption we enter ‘DirectX 9 Shader Effects’.
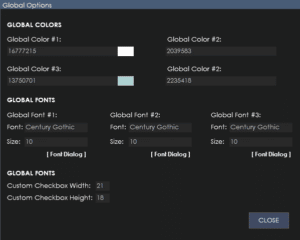
We will keep the fonts and colors to the default for this example.
In the additional options, we will leave Boolean Output unchecked so the output will be true or false.
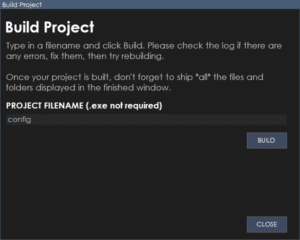
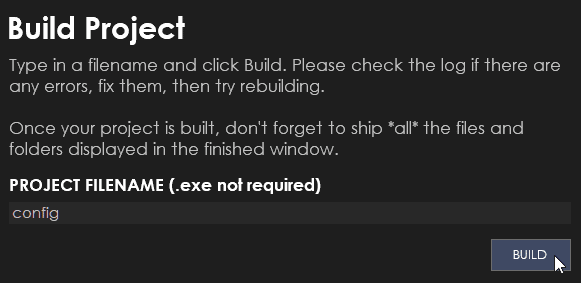
Now we will build our test project. Go to the menu (Build > Project)

Then we type in config in the filename and click the BUILD button…
CFC will start to build our project. We will see the build log being generated as we build the project.
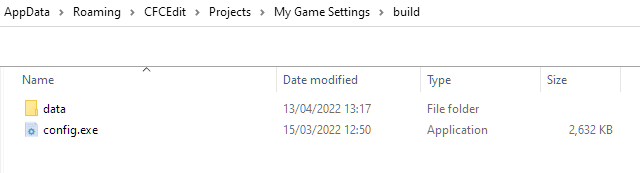
You can see we have config.exe and a data folder. Whereever we end up putting our configuration app, we need to ensure the data folder goes with it.
Let’s run our test config and see how it works.
Let’s run config.exe…
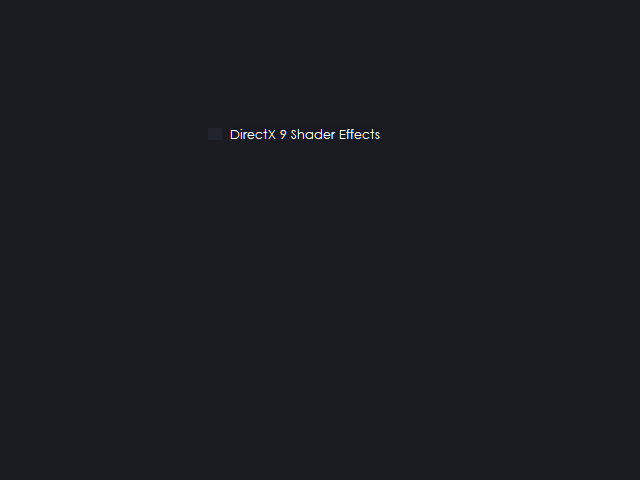
As you can see, our application is very, very basic. But let’s go ahead and click the checkbox. You will see that it will create the config.ini (because it doesn’t exist). If it does exist, it will just modify it.
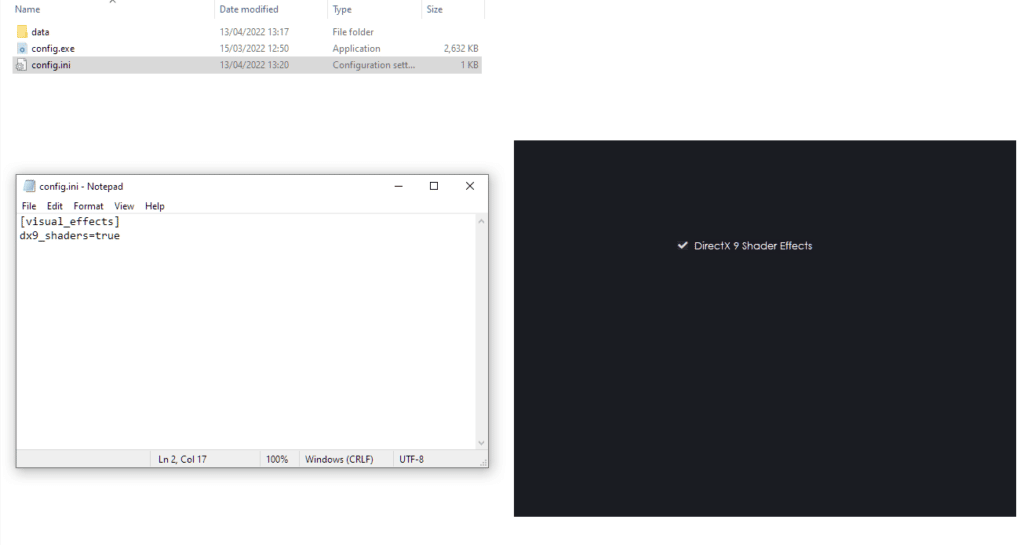
We have checked the box and if we open up config.ini, we can see that the result is now true inside the INI file because we have it checked.
You should now go back and explore all the other objects. They all work in the same principle at the top
Config File
You should choose which configuration file the particular setting is stored inside
INI Group
This is the group of the INI setting
INI Item
This is the item inside the group above which stores this setting
We highly recommend you go through our documentation section which covers pretty much every aspect of the software and what everything does. You can also get help in our Discord server, should you require it.